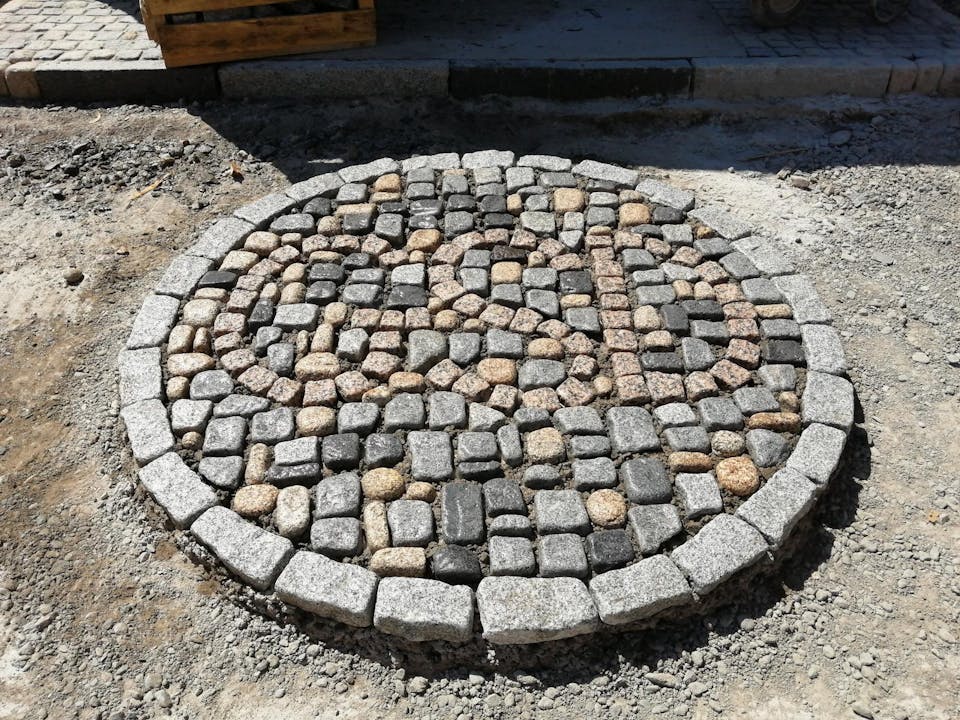
Laying Instructions
Laying granite setts correctly can provide an enduring and attractive look for years to come, in both contemporary and traditional settings. Although some designs that involve complicated and intricate patterns are not for the faint-hearted, and may well be better executed by experienced professionals, many applications are well within the skill set of the competent DIY enthusiast. The basic principles are the same to follow regardless of the size or nature of the project. Follow the relatively simple steps listed below you can create something that not only you can be proud of, but future generations can enjoy as well.
The Laying Process
- Select a level area that is firm and well-drained
- Lay a sub base to a depth of between 100-150mm deep
- Thoroughly compact the area with a plate vibrator or roller
- Lay the setts on a 50-100mm thick mortar base, three parts sharp sand to one part cement
- Position the granite setts a finger-width apart or as required
- Bed the granite setts down firmly as required with a suitable hammer or rubber mallet
- When dry, fill the joints with a workable mortar using a pointing trowel
Preparing The Ground
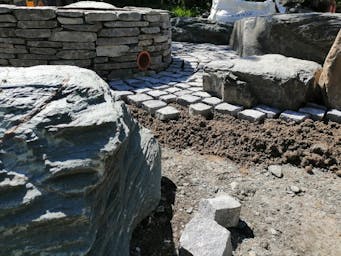
The exact depth of the sub-base may vary depending on the ground. Virgin ground that was previously been used as a lawn, for example, will require a greater depth of sub-base material to ensure that there will be no movement as the ground settles. The granite setts themselves will not crack, split or shatter and will only move if the ground on which they are laid has not been adequately prepared.
Mortar Base For Laying Granite Setts
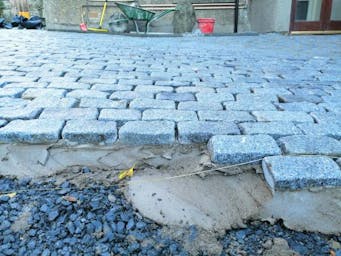
It’s important to lay the setts on a mortar base that will allow for the variations that exist in natural split granite. A mixture that has too high a moisture content may become problematic when tapping the setts into place. When agitated, moisture in the mortar will rise to the surface, and although the setts will bind to the cement-based mixture perfectly well it may become difficult to achieve a level finish. We recommend that the mortar should have a stiff consistency to lay the setts, but not be too dry. Some moisture is very important, but it should be workable. In a granite sett that has been produced to be 100x100x100mm in size, there will likely be at least a 10% variation, therefore some of the setts will need firming into place more than others.
Joint Sizes
With the variations in the sizing of natural split or tumbled setts, it is advisable that a finger width joint be left between them. These types of natural products are not evenly sawn like a cast block paving stone and therefore laying them without any mortar joint, not only will be next to impossible but will not be aesthetically pleasing and may detract from the overall appearance. If considerable care is taken it is possible to lay the setts very close but not touching. Depending on the laying design it may be useful to follow a string line or straight edge to ensure consistency because the setts are relatively small it’s easy to drift off course slightly, not advisable especially if following a geometric design.
Pointing
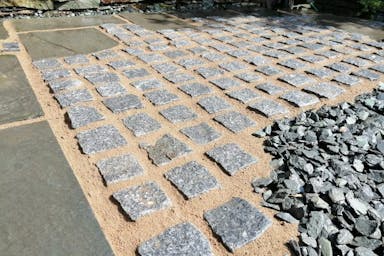
One of the most frequently asked questions we get asked about is what method to use to point the setts. It is very important to give this issue due consideration. If using the traditional method of pointing with a sand and cement mixture, although the materials will be relatively inexpensive, undertaking this method correctly can be a time-consuming business and have a significant effect on the financial costs of the project. As with the consistency of the mortar used for laying the setts, the moisture content for the pointing is also very important. Too wet and you may be in danger of staining the granite, which although it may be possible to clean afterwards, can ruin a lot of the hard work involved in laying them in the first place. If the mixture is too dry and is simply brushed into the joints the chances are that in time, as it may not have been compacted well enough into the cavity it will fall through and require attention in the not too distant future and turn out to be unsatisfactory.
I’m afraid that if you intend to go down the traditional route, there is no real substitute for taking your time and slowly filling the joints with a workable mortar that can be smoothed over with a pointing bar or another such tool.
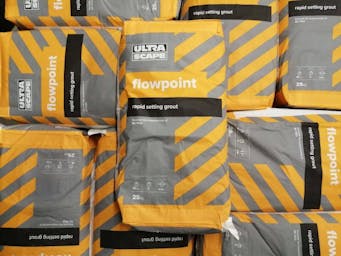
Flowpoint Rapid Setting Grout
Certainly our grout of choice. Flowpoint is the perfect compliment for our quality natural split and tumbled granite setts. Tried and tested, the best rapid setting grout on the market.
Suggested Design Patterns


Find the Perfect Granite Sett for your project
At Granite Setts Direct we stock high-quality natural split granite setts and tumbled granite setts in a wide range of colours and sizes.
To view our full range of setts, sizes and prices, visit our shop page, or continue reading to find some our the most frequently asked questions regarding the granite setts laying process.
Frequently Asked Questions
How deep should my sub-base be?
The depth of the sub base could vary to some degree depending on the ground conditions, but as a rule somewhere between 100-150mm should be adequate. This will then need compacting thoroughly using a plate compactor or roller.
What materials should I use for a sub-base?
A stone based aggregate containing anything from 40mm down to dust will be perfect for laying granite setts.
How wide do the joints need to be when laying granite setts?
This is down to personal preference however find a finger width joint to be a good guide. Joints that are too wide tend to look a little untidy however if the product is a natural split or cleft granite sett, there will be variations in the sizes so attempting to lay them too close together may be problematic.
When laying setts, what consistency should the mortar be?
In short, the answer is not too wet but definitely not too dry. There needs to be some give in the mortar as the setts will need tapping into place. If the consistency is too wet then it will be difficult to achieve a level finish, as the moisture content will rise to the surface as the mixture is agitated.
What ratio should the mortar be made to when laying the setts?
We tend to use a ratio of around three parts sand to one part cement but four parts sand to one part cement would also be perfectly adequate. We normally opt for a sand that has some aggregate content such as a sharp sand but even a grit sand will do the job well. This will give the mortar more structural integrity. SBR is an excellent product sold at any DIY store or builders merchants, this has a number of attributes including being a strengthening and bonding agent and is always a welcome addition to any mortar mix.
